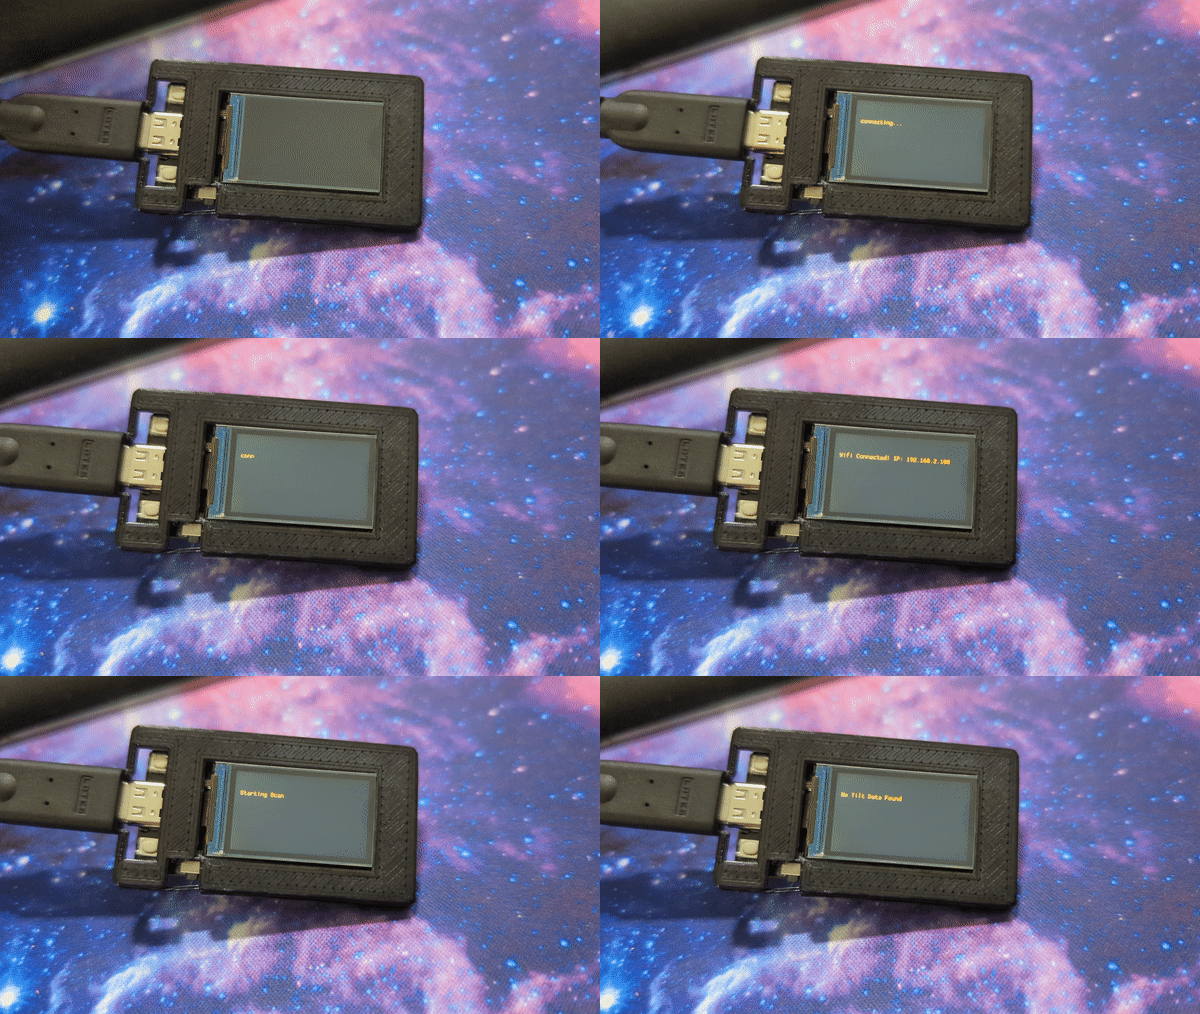
I made a Tilt Hydrometer data receiver on a T-PicoC3 microcontroller in go + python


This lets me send data from my tilt to (in my case) datadog via Zapier!
Lets dive in:
The tpicoc3 has 2 chips that can talk over UART.
- A raspberry pi RP2040 that can read the buttons and write to the TFT
- An ESP32 that can do BLE/Wifi
So for this Im using micropython on the ESP32 to read BLE for iBeacons (tilts allowlisted), connect to wifi, send the data both over UART and HTTP POST. The RP2040 will read on UART and display to the TFT.
You flash the different chips by USB-C polarity (flip the cable).
First we have to figure out which side is which. If you plug it in and run dmesg you’d see either something that says RP2040 or JTAG (ESP32).
Below is the dmesg output for ESP32
1 2 3 4 5 6 7 8 | |
Lets erase this bad boy. You’ll need to install esptool first.
1 2 3 4 5 6 7 8 9 10 11 12 13 14 | |
Next lets grab the binary for the ESP32C3. That is (currently) here
$ wget https://micropython.org/resources/firmware/esp32c3-usb-20220618-v1.19.1.bin
Lets flash it:
1 2 3 4 5 6 7 8 9 10 11 12 13 14 15 16 17 18 19 20 21 | |
If you want to send the data via HTTP POST, grab that here
$ wget https://raw.githubusercontent.com/pfalcon/pycopy-lib/master/urequests/urequests/__init__.py
Load up thonny and flash it. Make sure you jump IO9 to GND (one time cost). In Thonny load up this code
Make sure to modify the HTTP post information (or remove it altogether) as well as the wifi info
Hit save, choose the microcontroller and youre done here.
Next: the other side. Flip your USB c cable.
Now hold the Boot button, press Run, let go of boot. The screen will go black and you should see a new drive show up named RPI-RP2
Lets flash it.
You’ll need tinygo and go set up. If you dont: then just drop the (asuming you trust me, but the RP2040 cant use wifi or anything anyway) binary from here
Drop it into that RPI-RP2 drive and unmount it.
Bam. Done.